So you want to get started with a Raspberry Pi gaming setup. I don’t blame you, who doesn’t want access to thousands of great old games whenever they want? With retropie, anyone can make their own retro gaming station without much technical knowledge at all.
No matter how overwhelming it might seem at first, just stuck with it and follow these instructions. You only have to do all this once, and then you’ll have endless hours of retro gaming goodness right at your fingertips.
First I’ll walk you through the hardware, then I’ll walk you through the software.
Part 1: Retropie Hardware (Raspberry Pi)
The first thing you need is a Raspberry Pi setup.
If you already have all the hardware you need, you can skip this section and scroll down to Part 2.
Any Raspberry Pi will have enough power to run retropie, but you might as well go for the best one, which at the time of this writing is the Raspberry Pi 3. It currently runs for about $40 on Amazon. Again, you can save some money here by going with any of the Raspberry Pis, but the 3 isn’t that much more expensive than the others.
NOTE: If you pick up an older Pi it might not have built-in wifi, so be on the lookout for that. If you buy a Pi without built-in wifi and you don’t want to use an Ethernet cable, a wifi dongle will run you just 10 dollars.
Next, you should get a case for your Pi. These aren’t necessary, but it’s a good idea not to have your Pi completely exposed. You can pick up one of these for under 10 dollars on Amazon. This one will fit the 2 and 3, but make sure you get a case for your specific model, since they do differ slightly in size.
Now you need an SD card to install your OS and games on. You might have one of these free at home! If you don’t I suggest grabbing a 32gb MicroSD card for about 12 bucks, since this way you’ll have space for all sorts of games. Make sure you pick up a MicroSD card with an adapter (like the one I linked has), so you can set it up on your computer’s SD slot.
You should also grab a USB hub so you don’t have to worry about running out of ports. You might also have one of these at home, but if you don’t they’re only about 7 dollars.
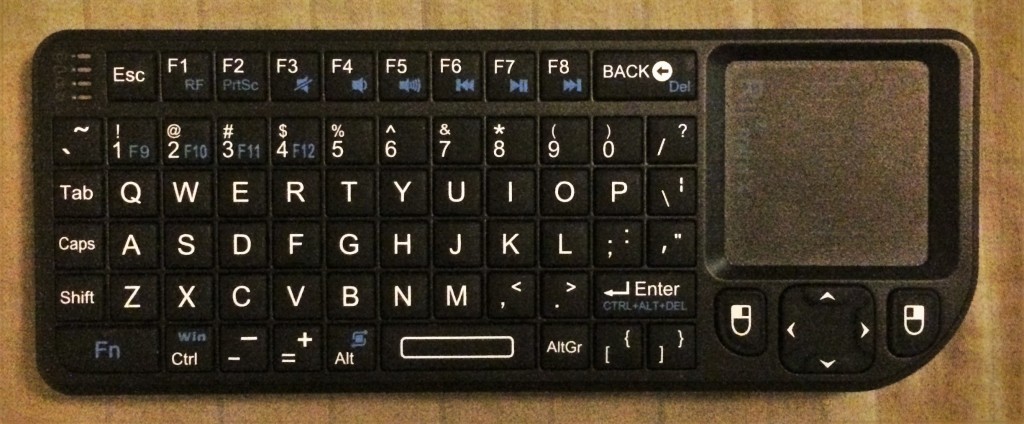
You can use a keyboard and mouse with your Pi, or a retro gamepad, and you probably have some sort of device for this in your house. If you don’t, I would recommend the Rii, a mini combination keyboard and touchpad which can work for typing and gaming that runs for less than 20 bucks.

Speaking of the screen, you can use your HDMI-capable TV as long as you have an HDMI cable. You likely have one of these already, but if you don’t they’re only about 5 bucks on Amazon.
If you don’t want to use your TV, a screen will be your biggest expense. I personally have a 7 inch screen which costs $70 and comes with an HDMI cable. Many screens will come with an HDMI cable, so keep that in mind if you’re going this route. Again, though, you can just as well use your TV and an HDMI cable.
Without a screen, and depending on which items you already have lying around at home, this will all cost you about 100 dollars, and it can end up being much less.
Once you have all these items, you’re ready to start setting up your gaming station!
Part 2: Retropie Software
So you have all the parts you need. It’s pretty easy from here! Even if it seems overwhelming at first, just keep at it because you don’t really need much prior knowledge of the subject to be able to set this up.
Setting up retropie on your SD card
 First you need to download retropie. You can do this for free here, just make sure you download the right version for your Pi.
- Extract the retropie download. If you don’t have extraction software for this, download 7-Zip for free and use that to extract the files from the retropie download. You should now have an .img file for your SD card.
- Use the adapter to insert your microSD card into your computer. (Make sure your SD card is formatted as FAT32, and use SD Card Formatter if it’s not.) Download and install Win32 Disk Imager, and then use it to write the aforementioned .img file to your SD card. Once this is done, your SD card is ready to run retropie on your Raspberry Pi.
Setting up your Raspberry Pi and retropie
- Put your MicroSD card with retropie written onto it into your Raspberry Pi.
- Fit your Raspberry Pi into its case.
- Connect the USB hub to your Pi.
- Connect your Raspberry Pi to the screen you’re using with an HDMI cable.
- Plug any peripherals (keyboard, mouse, Bluetooth receivers, etc.) into the USB hub.
- Turn on your screen (retropie may require your screen to be on when it’s booted up).
- Turn the Raspberry Pi on by plugging in the power supply you’re using (there is no on/off switch, so you’ll just have to plug it in to turn it on.)
Although all the emulators are already installed, only a few will show up at first. This is because retropie only shows emulators that you already have games for.
So, how do you get games? That is the point of doing all this, after all. Well, it’s kind of tricky. Emulators are legal, but downloading roms (games for your emulators) is often illegal. That said, simply searching for a system’s roms online will usually get you what you’re looking for. Also, make sure the roms are the right file extension for your emulator (example: PSX uses .bin files). You can see more about which file extensions you need for certain emulators here. This is that link’s entry for GBA:
- <system>
- <name>gba</name>
- <fullname>Gameboy Advance</fullname>
- <path>~/roms/gba</path>
- <extension>.gba .GBA .zip</extension>
- <command>retroarch -L /usr/lib/libretro/vba_next_libretro.so –config ~/.config/retroarch/retroarch.cfg –appendconfig ~/.config/retroarch/gba/retroarch.cfg %ROM% >> retroarch-gba.log 2>&1</command>
- <platform>gba</platform>
- <theme>gba</theme>
- </system>
This tells you that Gameboy Advance roms need to have .gba, .GBA, or .zip file extensions to be detected by retropie.
If you plan on playing PlayStation or Gameboy Advance games on retropie, you also need to download BIOS files for each of these systems. The ones you need are called SCPH1000.bin and gba_bios.bin for PlayStation (PSX) and GBA, respectively.
Once you have your roms and bios files downloaded, it’s time to transfer them to your Pi! The easiest way to do this is with Samba shares.
First, connect your Pi to the internet. You can do this in the “Retropie” section of your retropie menu. Take note of your Pi’s IP address once it’s connected.
While your Pi is on, go to your computer’s “This PC” folder and replace “This PC” with “\\(your Pi’s IP address)”. This should be in the form of \\XXX.XXX.X.XXX, with your IP address following the slashes. This will bring up a folder which includes the folders “bios”, “configs”, “roms” and “splashscreens”.

Now you just drag and drop the files into the corresponding folders! The bios files go directly into the “bios” folder, while your roms have to go into specific subfolders in the “roms” folder. For example, Gameboy Advance roms would go in the “gba” folder inside “roms”. If you used the right file types, everything should be ready to start playing at this point.
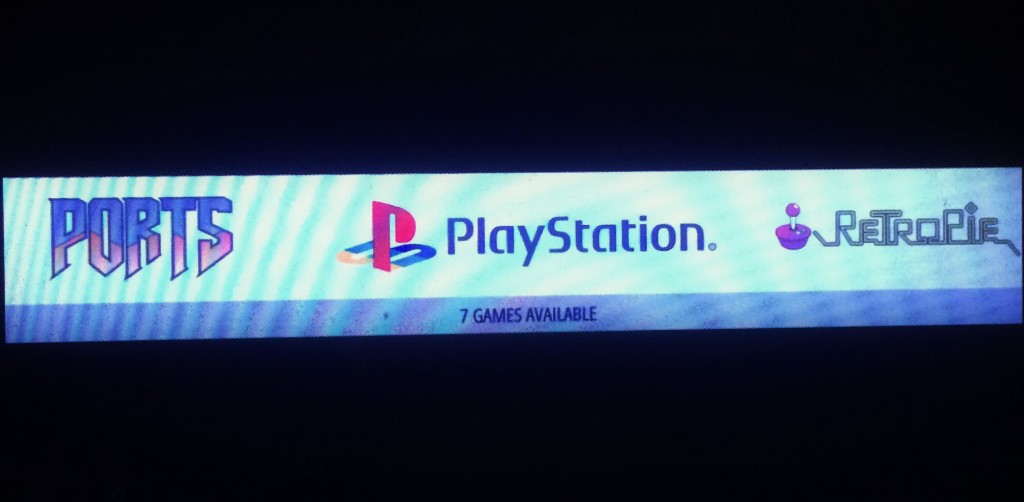
Restart retropie. You can achieve this by pressing whichever button you’ve chosen as Start on your gamepad. The emulators you have games for should show up now, as should the games you’ve added to those emulators. Starting games is as easy as picking one and pressing A!
When you’re in-game, hold down Select and then press X (as you’ve assigned them on your gamepad) to reach the Retroarch menu. From here you can exit back to Emulation Station, and you can also Save and Load your games in this menu.
You can’t trust normal saving mechanisms in a lot of emulated games, so you have to use the emulator’s save states instead. Once you’ve brought up the Retroarch menu, select Quick Menu to reach save slot options. From here, you can choose a slot, save to it and load from it. For example, if you choose Save Slot 0 and press Save State, the game will save at exactly that point. Later when you want to pick up where you left off, you just choose Save Slot 0 again and press Load State and your game will load exactly where you last saved.
At this point, you’re done! You should be able to play any games you want, and you should know now how to transfer games to your Pi and how to save and load in-game. There’s all sorts of more complicated things going on with the Pi that you can get into, if you want to use any sort of control setup that is not auto-detected when retropie starts, but I won’t get into that. This should be enough to satisfy most people’s desires from their new retropie setups.
Happy gaming! If you have any questions at all, don’t hesitate to ask me for help. I’ll make sure you can figure this out for yourself, no matter how tough it seems sometimes.


